Attic Hatch Insulation Summer Cooling Leak Check
A practical home-energy guide for finding and fixing attic hatch air leaks that make summer cooling work harder, with safety and DIY boundaries.
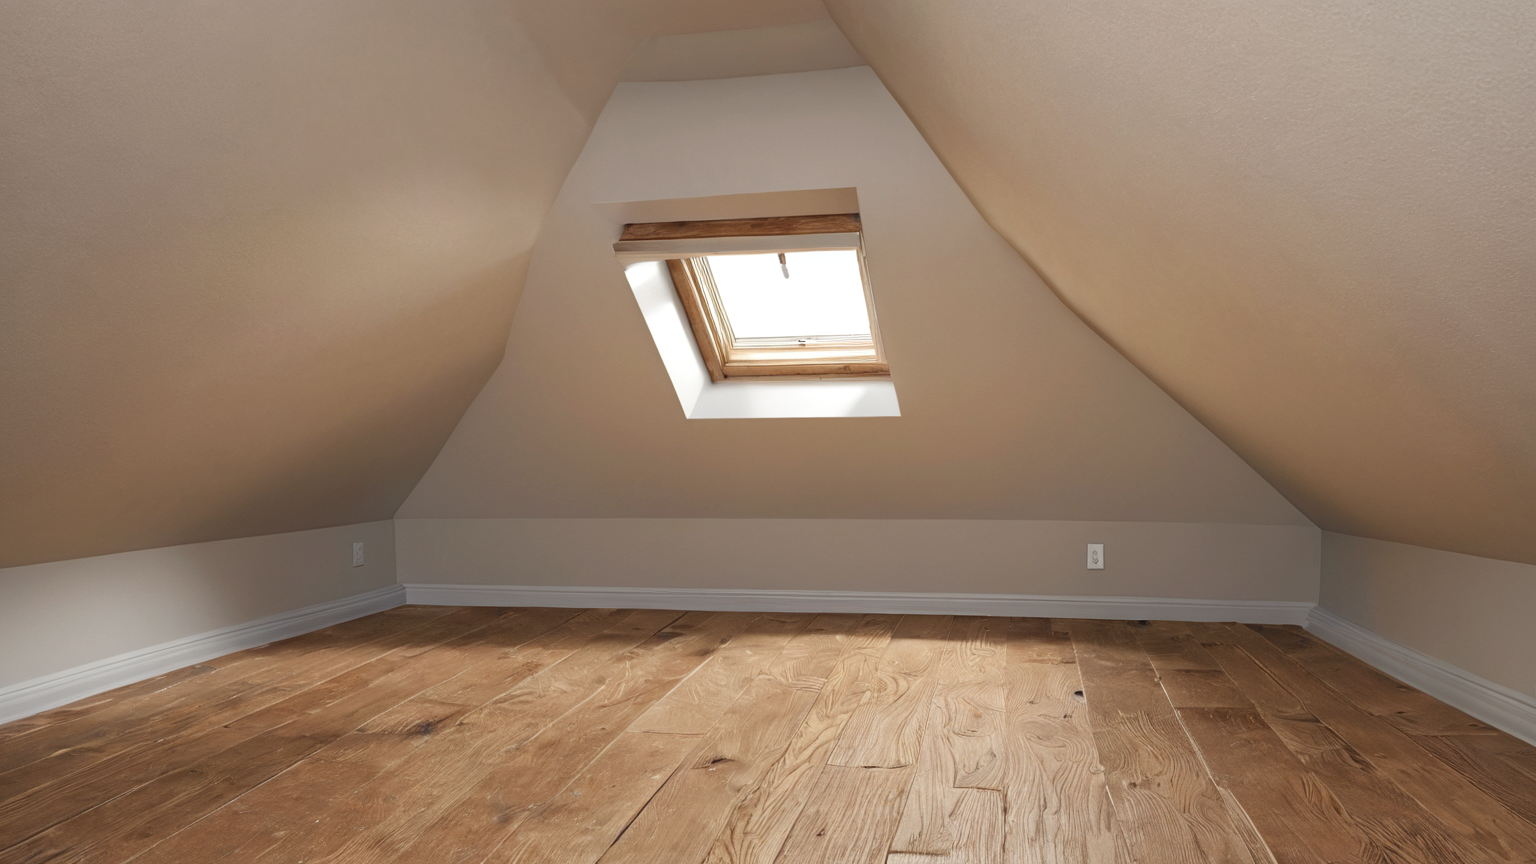
A small attic hatch can behave like a hidden open window between a hot attic and a cooled hallway. In summer, warm attic air, dusty bypasses, and missing insulation can make rooms feel uneven while the air conditioner runs longer. This guide was checked on 2026-06-23 against ENERGY STAR, U.S. Department of Energy, EPA, OSHA, and Building America guidance. It is DIY planning guidance, not electrical, structural, mold, pest, or asbestos advice; stop and hire a qualified professional when hazards are present.
Quick decision table
| Situation | Safer choice | Mistake to avoid |
|---|---|---|
| Hatch panel rattles or lifts | Add gasket/weatherstripping and ensure latch/weight holds it closed | Only placing loose insulation on top |
| You see wiring, pests, mold, or wet insulation | Stop and call a qualified pro | Reaching into unknown attic hazards |
| Hallway remains hot after sealing | Check ducts, vents, sun load, and return leaks | Assuming the hatch fix failed alone |
| Drop-down stairs leak at multiple joints | Use a rated cover or professional air-sealing approach | Blocking the stairs so service access is unsafe |
Confirm the symptom before buying materials
Look for a hot hallway, dust streaks around the hatch, loose trim, missing weatherstripping, or a panel that lifts easily when doors close. Compare the hatch area with nearby ceiling surfaces on a hot afternoon. Do not assume the hatch is the only issue; ducts, recessed lights, wall top plates, and leaky returns can also matter.
Make safety the first tool
Use a stable ladder, keep three points of contact, avoid stepping on drywall, and do not disturb suspicious insulation, wiring, pests, mold, or water damage. If the hatch requires awkward overhead work, get help. A small energy improvement is not worth a fall or exposure hazard.
Air seal before adding insulation
Insulation slows heat flow, but air leaks can carry hot attic air around it. Add durable weatherstripping or gasket material where the hatch contacts the frame, seal gaps in the trim when appropriate, and ensure the panel closes flat. Then add or improve rigid insulation on the hatch cover if the design allows.
Keep access usable and ventilation separate
The hatch still needs to open for service, and sealing the hatch is not the same as blocking attic ventilation. Do not stuff insulation into soffit vents, cover unsafe fixtures, or trap moisture. If the attic has combustion appliances, whole-house fans, or unusual pressure issues, get professional guidance.
Measure the result in comfort and runtime
After the fix, check whether the hallway feels less hot, dust lines stop returning, and cooling cycles feel less strained. Pair the hatch project with filter changes, shade, thermostat discipline, and duct checks rather than expecting one gasket to solve every summer bill.
Step-by-step operating routine
- Define the real constraint before acting: weather, fatigue, food temperature, child movement, or home hazard.
- Use the listed official sources to verify any current alert, local rule, equipment manual, recipe instruction, or safety threshold.
- Choose the lower-risk option when the environment is unfamiliar, crowded, hot, poorly maintained, or outside your normal routine.
- Write down the stop condition before starting so the decision is not made while rushed or embarrassed.
- Re-check the result after the action and keep the habit only if it improves safety, comfort, or consistency without adding hidden risk.
Common mistakes to avoid
- Treating a generic tip as if it overrides current official guidance or local conditions.
- Continuing because the plan is already started, even after a stop signal appears.
- Using a product, vehicle, appliance, recipe, or exercise method in a way the source material does not support.
- Letting convenience remove the most important safety layer: supervision, temperature control, air sealing, hygiene, or a professional boundary.
AdSense-readiness and trust note
This article is intentionally conservative: it favors verifiable sources, clear user decisions, internal links to related practical guides, and plain disclaimers over sensational claims. If your situation involves illness, injury, children, electrical hazards, food spoilage, vehicle danger, or structural problems, use local official guidance and qualified professionals first.
FAQ
Is this current for June 2026?
Yes. The publishing workflow checked the listed sources on 2026-06-23. Current local alerts, recalls, owner manuals, and professional advice still take priority.
What should I verify before using the checklist?
Verify the current official source, your real local conditions, product or vehicle instructions, and whether a professional boundary applies.
Does this replace professional advice?
No. It is a practical planning guide for everyday decisions, not medical, legal, emergency, mechanical, electrical, structural, or commercial food-service advice.
Implementation notes for real households
The most useful version of this guide is the one you can repeat on a busy day. Put the checklist where the decision happens, remove steps that require perfect memory, and decide in advance which signal sends you to a lower-risk option. Good safety routines are boring: they reduce the number of judgment calls you must make while tired, hot, distracted, hungry, or under time pressure. Review the outcome the next day. If the routine created confusion, shorten it. If it prevented a rushed mistake, keep it and make the safer choice easier next time.
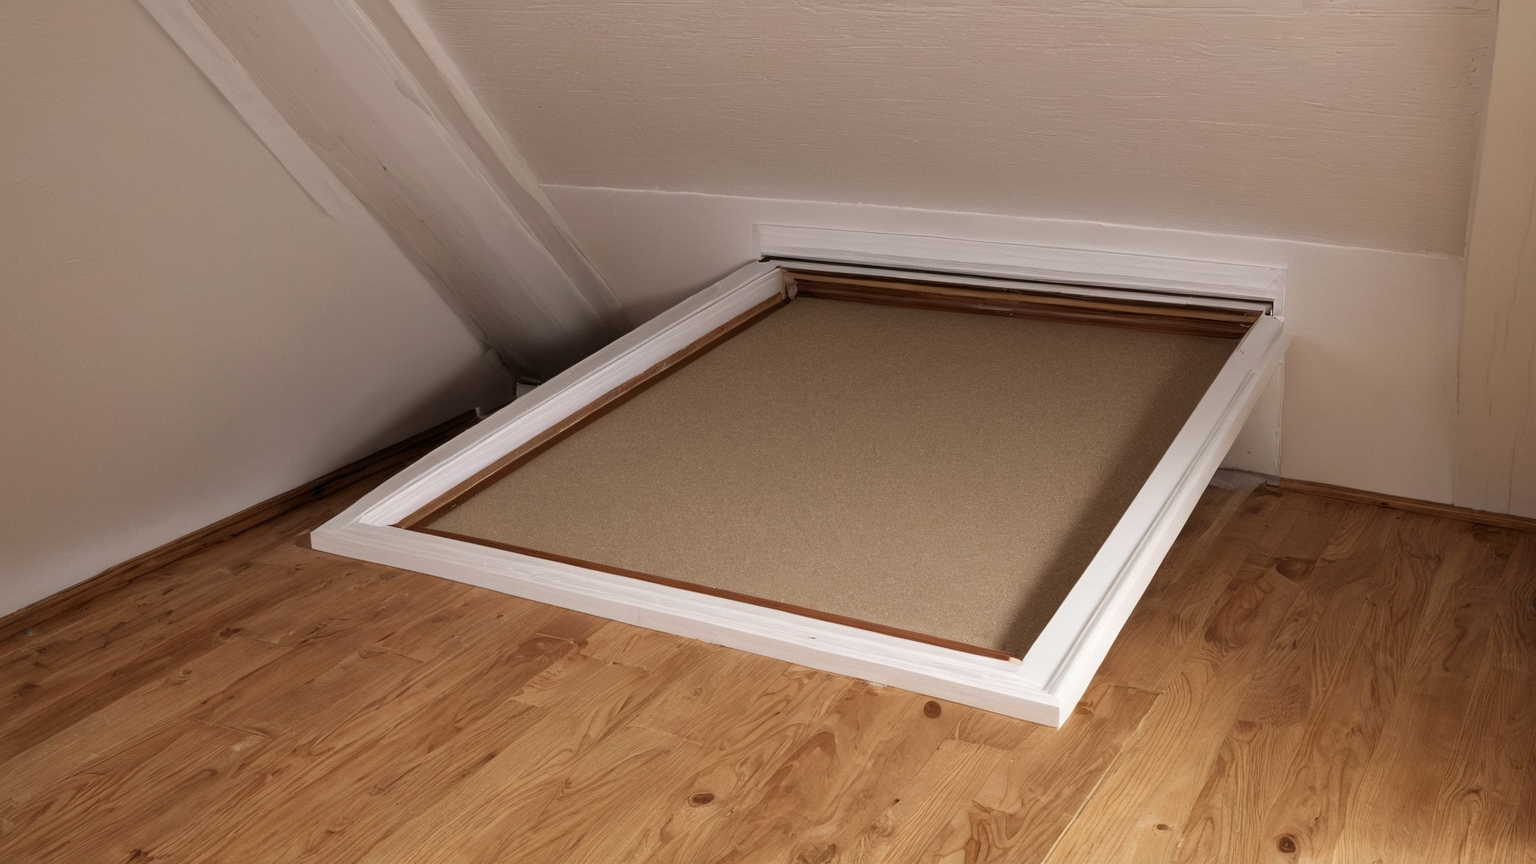
Simple inspection sequence
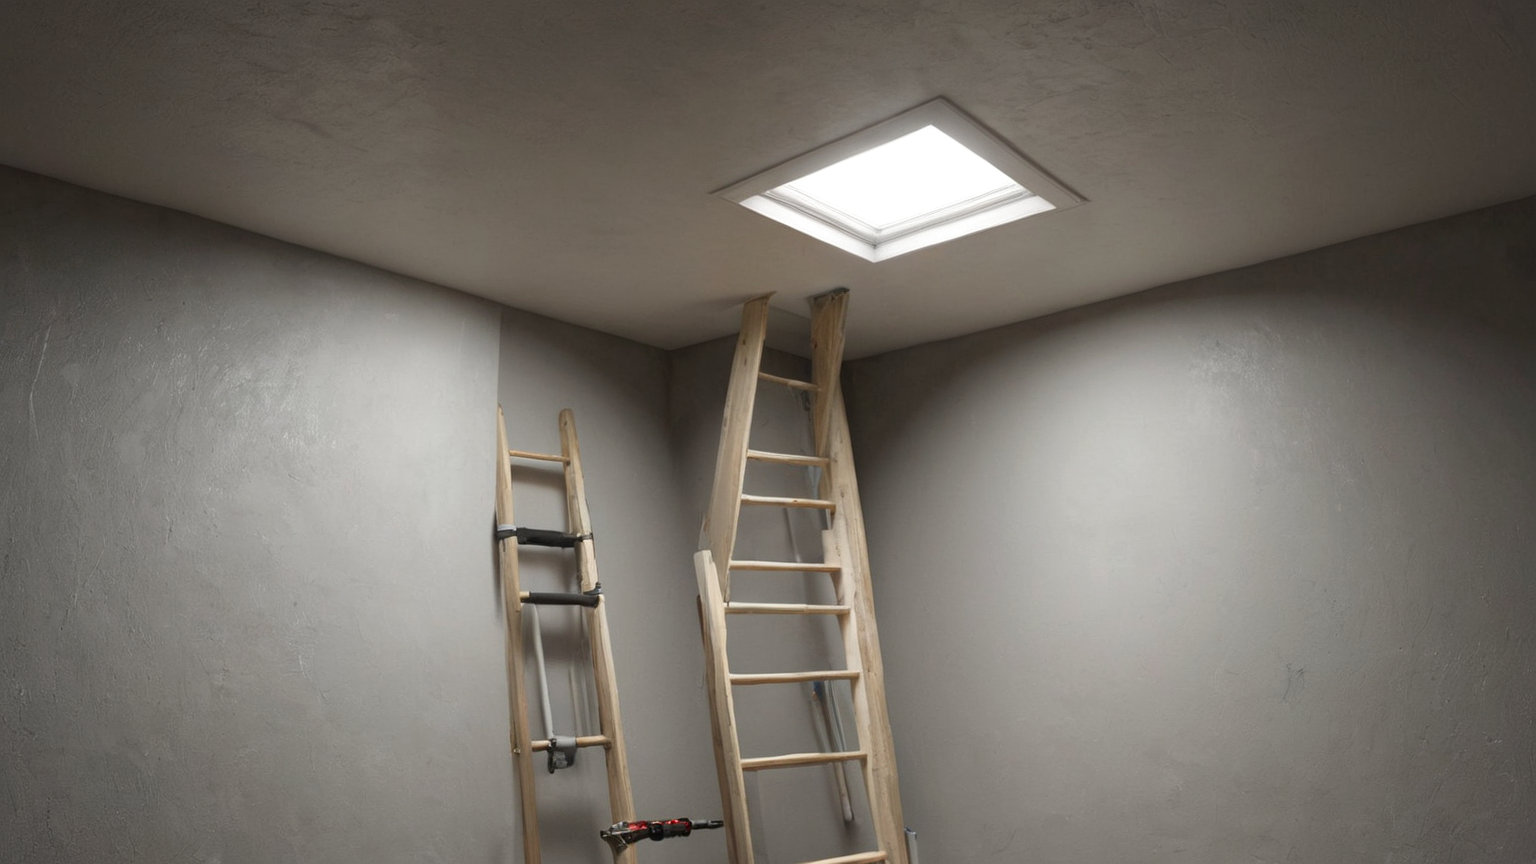
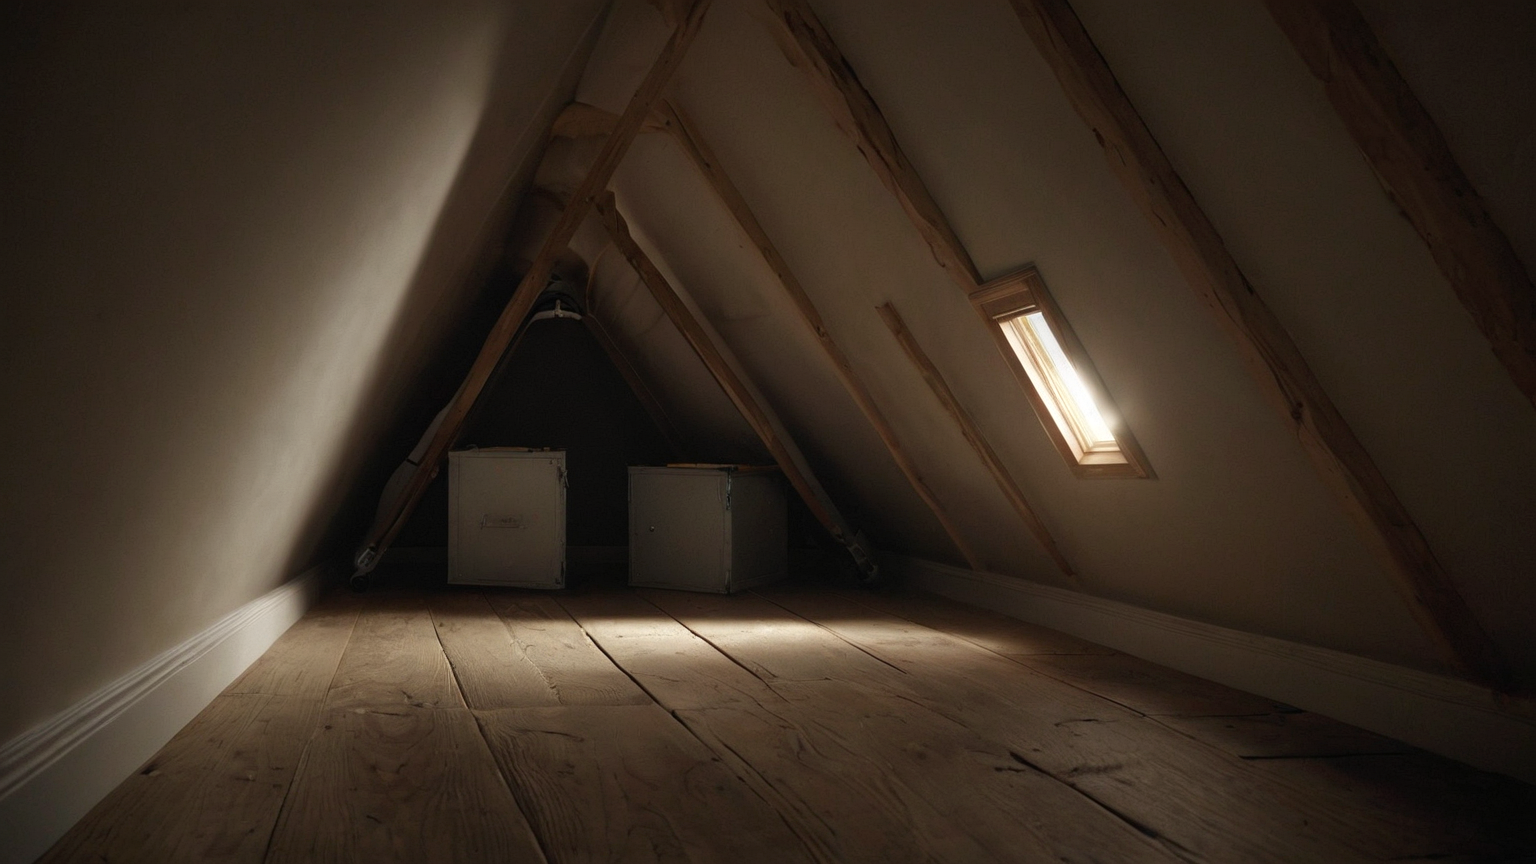
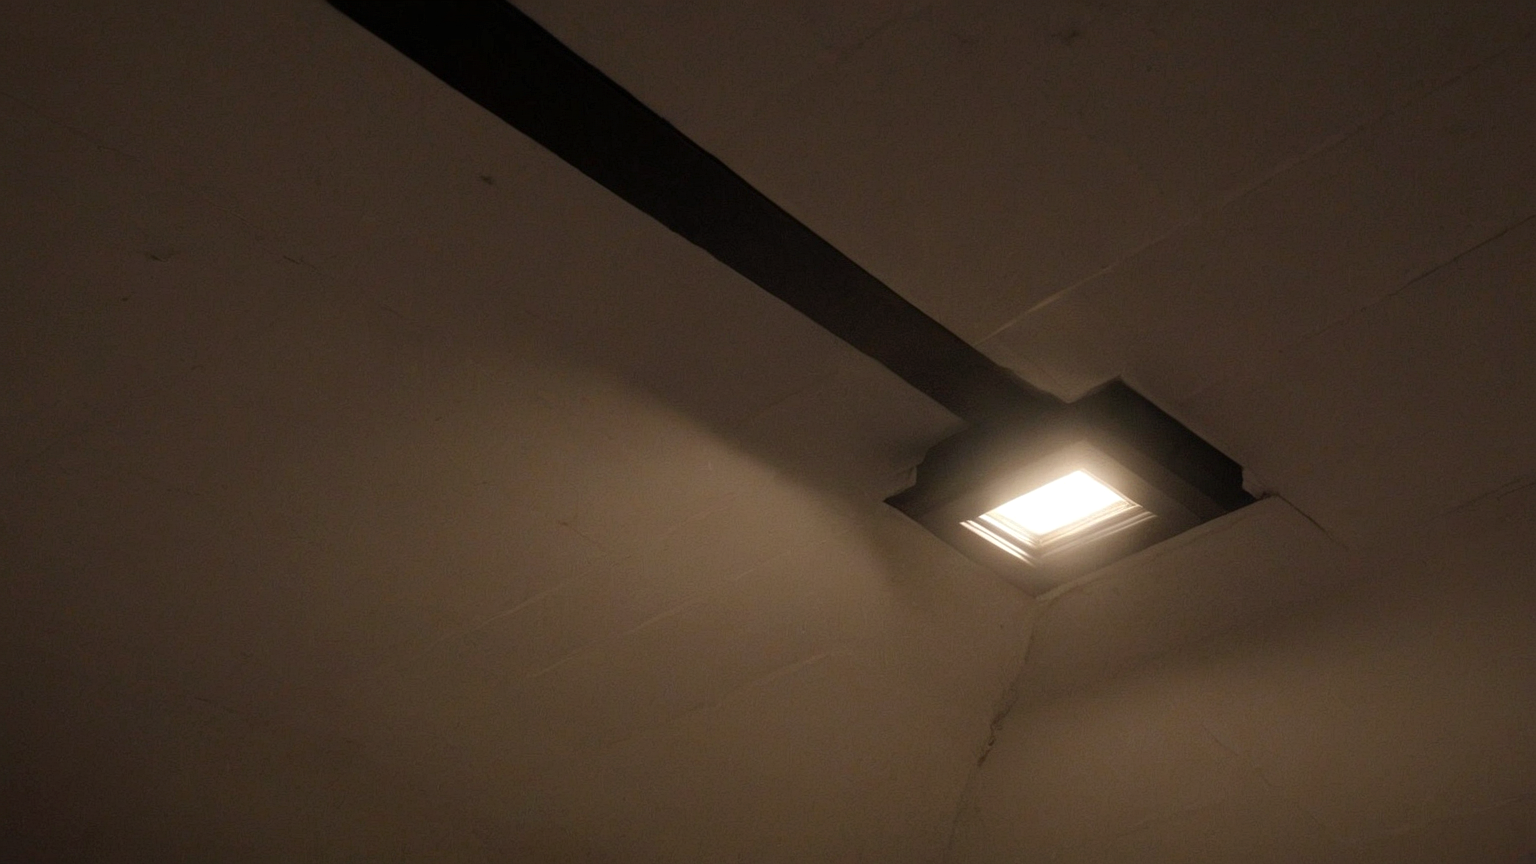
Pick a hot afternoon when the cooling system has been running. Stand below the attic hatch and feel for warmth, dust movement, or a temperature difference compared with the rest of the ceiling. Look for dark dust lines around trim, a panel that does not sit flat, missing weatherstripping, or gaps where light enters. If you can safely open the hatch, inspect only what you can see without stepping onto ceiling drywall or disturbing unknown materials.
Take photos for your own reference, but do not poke into insulation, wiring, pest material, or stained areas. If the hatch is connected to pull-down stairs, inspect the perimeter, hinge side, and latch side because leakage often occurs at multiple joints. The goal is to understand the air path before buying foam, tape, or insulation.
DIY boundary checklist
A simple flat scuttle panel with clean framing is often a reasonable homeowner project: add gasket material, make the panel close flat, and attach appropriate insulation to the hatch cover if local code and the design allow it. A drop-down stair assembly, moisture staining, knob-and-tube wiring, recessed fixtures, combustion equipment, asbestos-suspect material, pests, or mold moves the project toward a qualified professional. Energy savings should never come from hiding a hazard.
Do not block attic ventilation or cover electrical devices with loose insulation. Air sealing the hatch is about separating conditioned living space from attic air, not sealing every attic opening. If pressure changes cause doors to slam, combustion appliances to backdraft, or indoor air quality to worsen, stop and get professional evaluation.
Material and maintenance notes
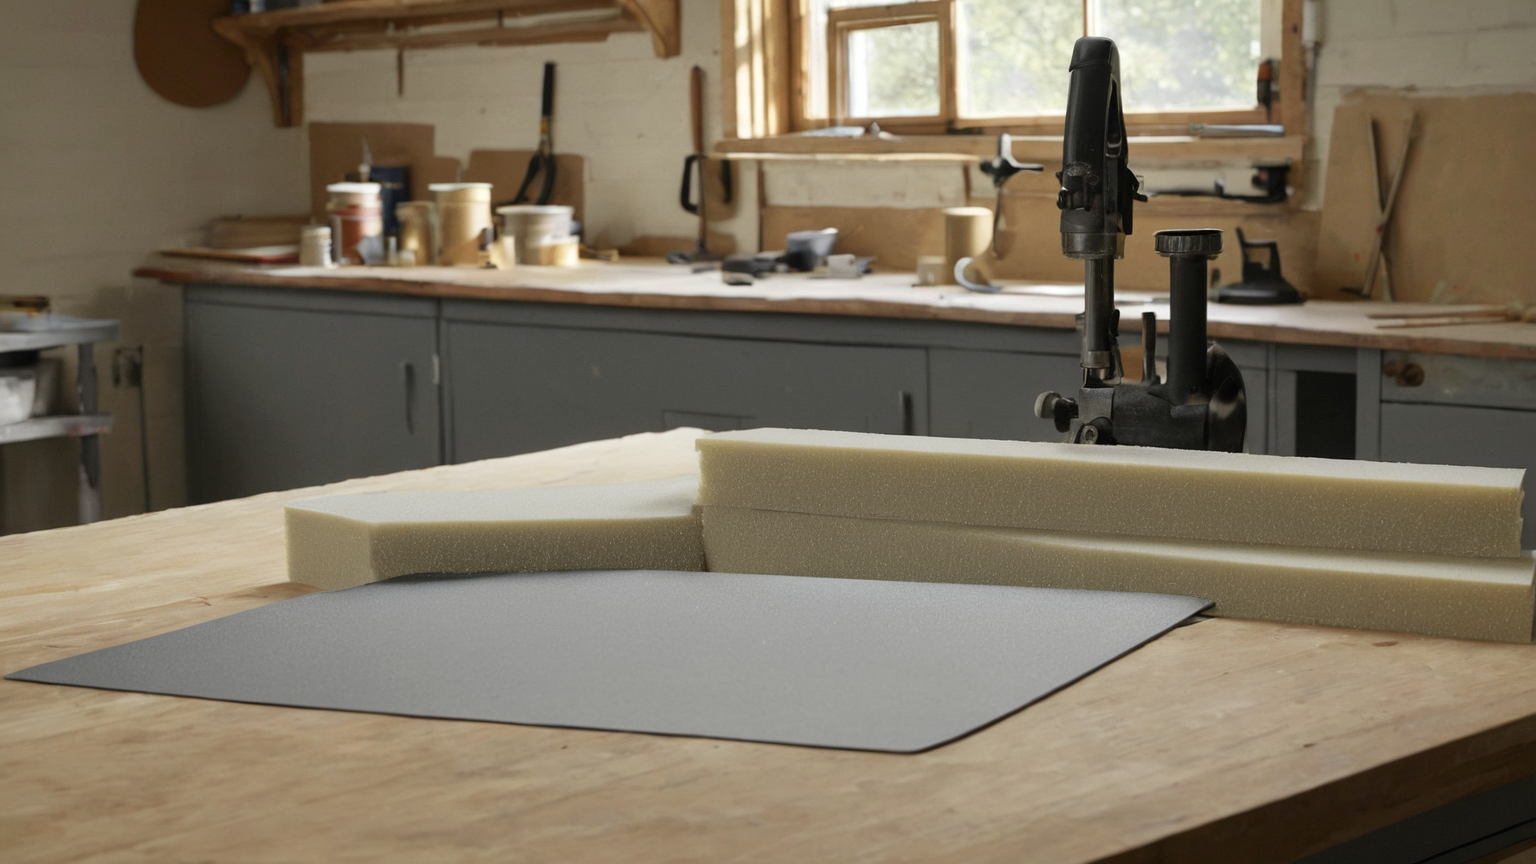
Use materials that tolerate the hatch movement and temperature. Cheap tape that falls off in attic heat can leave the leak unchanged. Weatherstripping should compress enough to seal but not so much that the hatch cannot close securely. Rigid insulation should be attached so it does not fall when the hatch is opened. Label the project in your own maintenance notes, not on visible fake labels in photos.
Check the hatch again after the next major temperature swing. If dust lines return, the panel may be shifting or the leak may be coming from nearby trim, ducts, recessed lighting, or wall cavities. Pair this small project with filter maintenance, shading, thermostat discipline, and duct inspection for a more realistic summer cooling plan.
Practical follow-up log
Use a short follow-up log so the article becomes an action plan rather than a one-time read. Record the date, the condition you observed, the safer option you chose, and whether the result was better the next day. Keep the log simple enough to repeat: one line for the signal, one line for the action, and one line for the result. If the same problem appears twice, improve the setup before the third attempt instead of relying on willpower.
This is also where helpful-content quality matters. A checklist is only useful when it changes behavior in the real setting. Put supplies near the decision point, remove choices that create avoidable risk, and share the boundary with anyone else involved. If another adult, passenger, family member, or contractor participates, make the stop rule explicit before work starts. The safest plan is the one that remains understandable when the day is hot, crowded, rushed, or inconvenient.
Finally, revisit the official source links when conditions change. Public-health pages, vehicle guidance, food-safety instructions, and energy-efficiency recommendations can move or update. If a source contradicts a habit, prefer the current source and adjust the habit. That protects both reader safety and long-term site trust.
One-minute readiness recap
Before acting, pause for one minute and name the real hazard, the official source that applies, the safer fallback, and the point where you will stop. That quick recap prevents the most common failure: continuing with a familiar routine after the situation has clearly changed.